What is a Point of Sale (POS)
A Point-of-Sale system is a technological solution that retailers rely on to efficiently and smoothly complete commercial transactions between the merchant and the customer, including sales, payments, and invoice printing.
On the Mnasati platform, each POS device is registered with a unique activation code and a designated internal request number, enabling precise tracking of all financial and commercial operations. This organization enhances control, improves sales management, and ensures professional and orderly documentation of every transaction processed through POS devices.
Advantages of the POS System on Mnasati
· Transparency and Accountability
Every transaction is recorded accurately with timestamps and responsible users, minimizing errors or fraud and boosting trust in the financial system.
· Flexible Management
Managers have full control over the POS system with options to modify, replace, or delete entries without needing constant technical support.
· Comprehensive Integration
Linking POS devices to financial custody provides a holistic view of business activities, from actual sales to accounting reconciliation.
· User-Friendly Interface
The Arabic interface and intuitive design make the system easy to learn and use, even for non-technical users.
How to Add POS Devices and Associated Sub Users
To enable the POS system within the online store and manage linked sub-users, follow these steps:
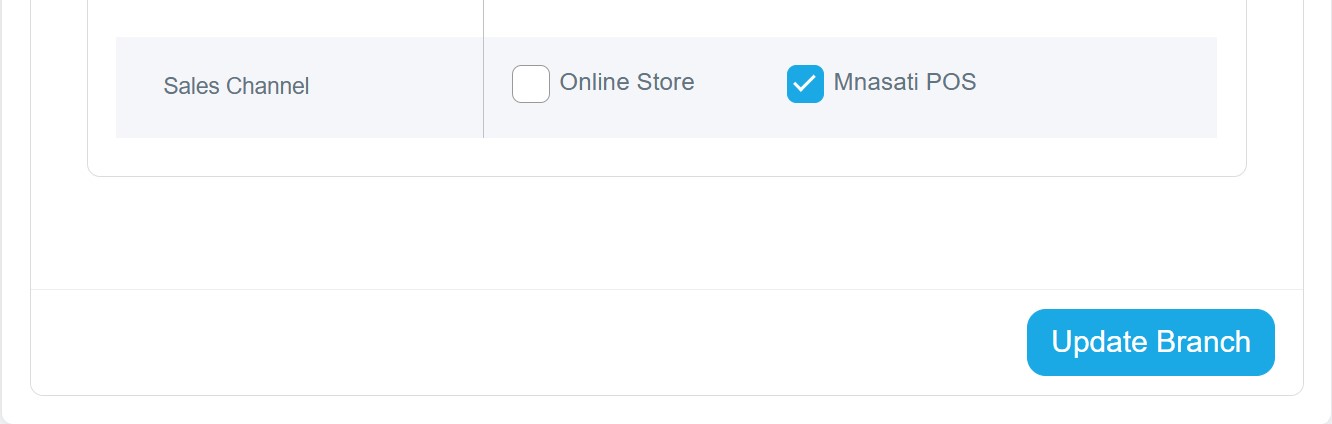
1. Select the Branch as a POS Location
Access the branches list from the control panel and choose the branch you want to activate as a POS point.
2. Access the Sub Users List
Inside the chosen branch page, click on the " Sub Users " option. A window displaying existing users will appear. At the top, click the "Add New" button to create a new sub-user.
3. Fill in Sub-User Details
Upon opening the add user window, you will see organized fields under the Details section, including:
User Information
§ Name: Enter the sub-user’s name.
§ Email and Password: Credentials for logging into the system.
§ Phone Number: Additional contact method for accessibility.
§ Status: Enable or disable the user account as needed.
§ Accessible Branches: Define which branches the user can manage or view in the control panel.
§ POS Branch:
This field links the user to a specific branch in the POS system. Based on the selected branch, the user will manage daily sales, issue invoices, process returns, and review sales activities exclusively for that branch.
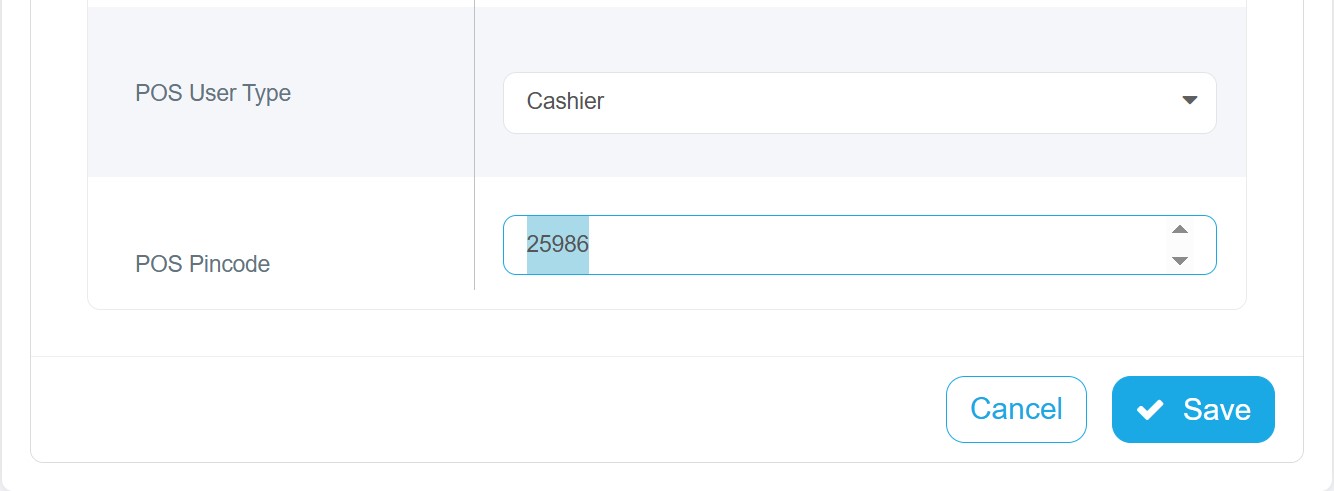
§ POS Code:
The POS code must be specified. It is an identifier that is automatically generated when the sub-user creation window opens, and it can be modified. This code is used to link the user to a specific POS device.
Set User Permissions
The system offers a wide range of permissions to enable or disable for each sub-user, providing flexible control over their system activities. Key permissions for POS users include:
· Managing products
· Managing add-ons
· Applying discounts on POS orders
· Canceling POS orders
Activating these permissions grants the user the ability to perform required tasks without unnecessary additional access.
Accessing POS Devices
1. From the main menu, click on the POS section.
2. A dropdown menu will appear with the following options:
· Devices: Add new devices using the "Add New" button at the top. A window will prompt you to enter basic device information such as activation code and order prefix.

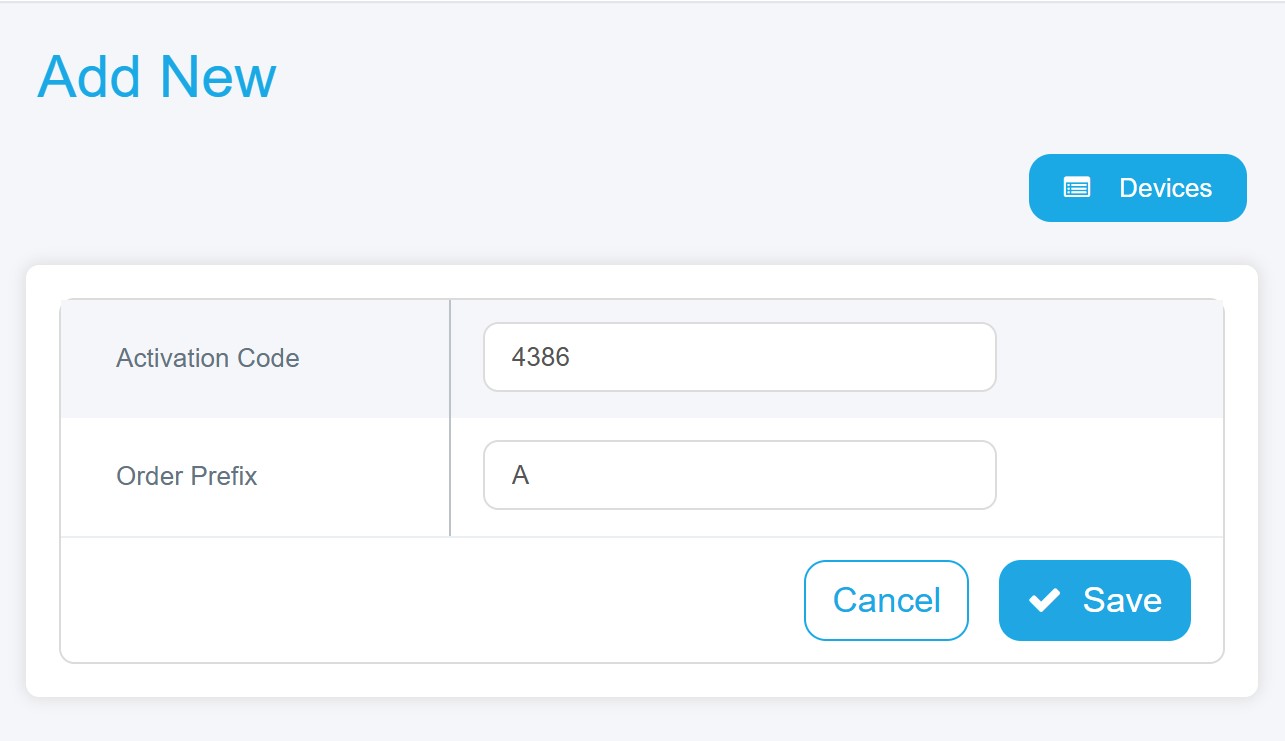
Once saved, each device in the system will display:
§ Activation Code: A unique identifier for each device consisting of 4 digits, and it appears automatically in the add window, with the option to modify it.
§ Order Prefix: A capital English letter placed at the beginning of the order number to distinguish or classify it. It serves several purposes, such as:
1. Differentiating between types of orders
2. Distinguishing between branches
3. Facilitating sorting and searching
§ Status: The system indicates the current status of each device, whether it is "New" or "Used."
§ Options Column, which includes:
1. View: Access complete device details and its transaction history.
2. Edit: Update device information as needed, such as changing the status or order prefix.
3. Delete: Remove the device from the system when it is permanently decommissioned.
4. Logs: Review all operations and data related to the device.
Working with Mnasati POS System & Logging In
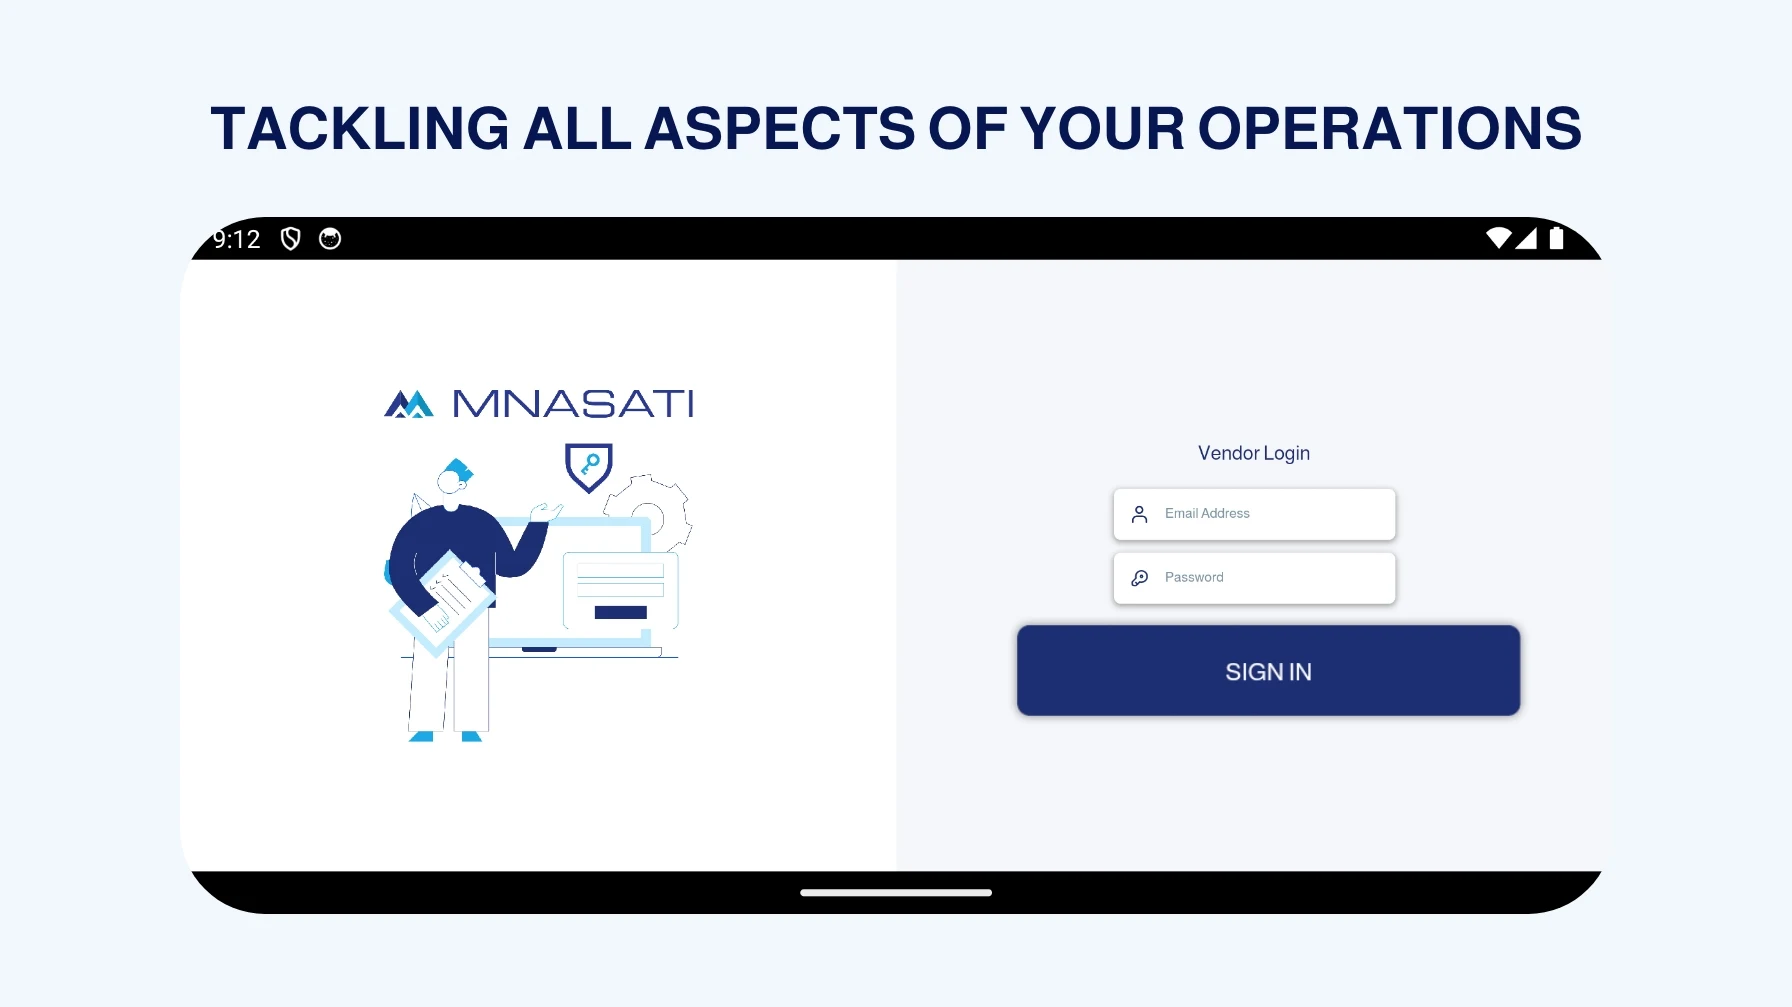
1. Download the Mnasati POS App
Install the dedicated POS application on your device.

2. Login with the Store Admin Account
Open the app and sign in using the store administrator's credentials.
3. Activate the Device
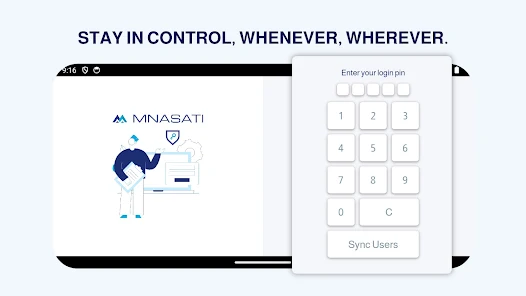
Enter the 4-digit activation code for the POS device.
4. Enter Sub-User Login Code
After activation, input the 5-digit login code associated with the sub-user’s POS activation.
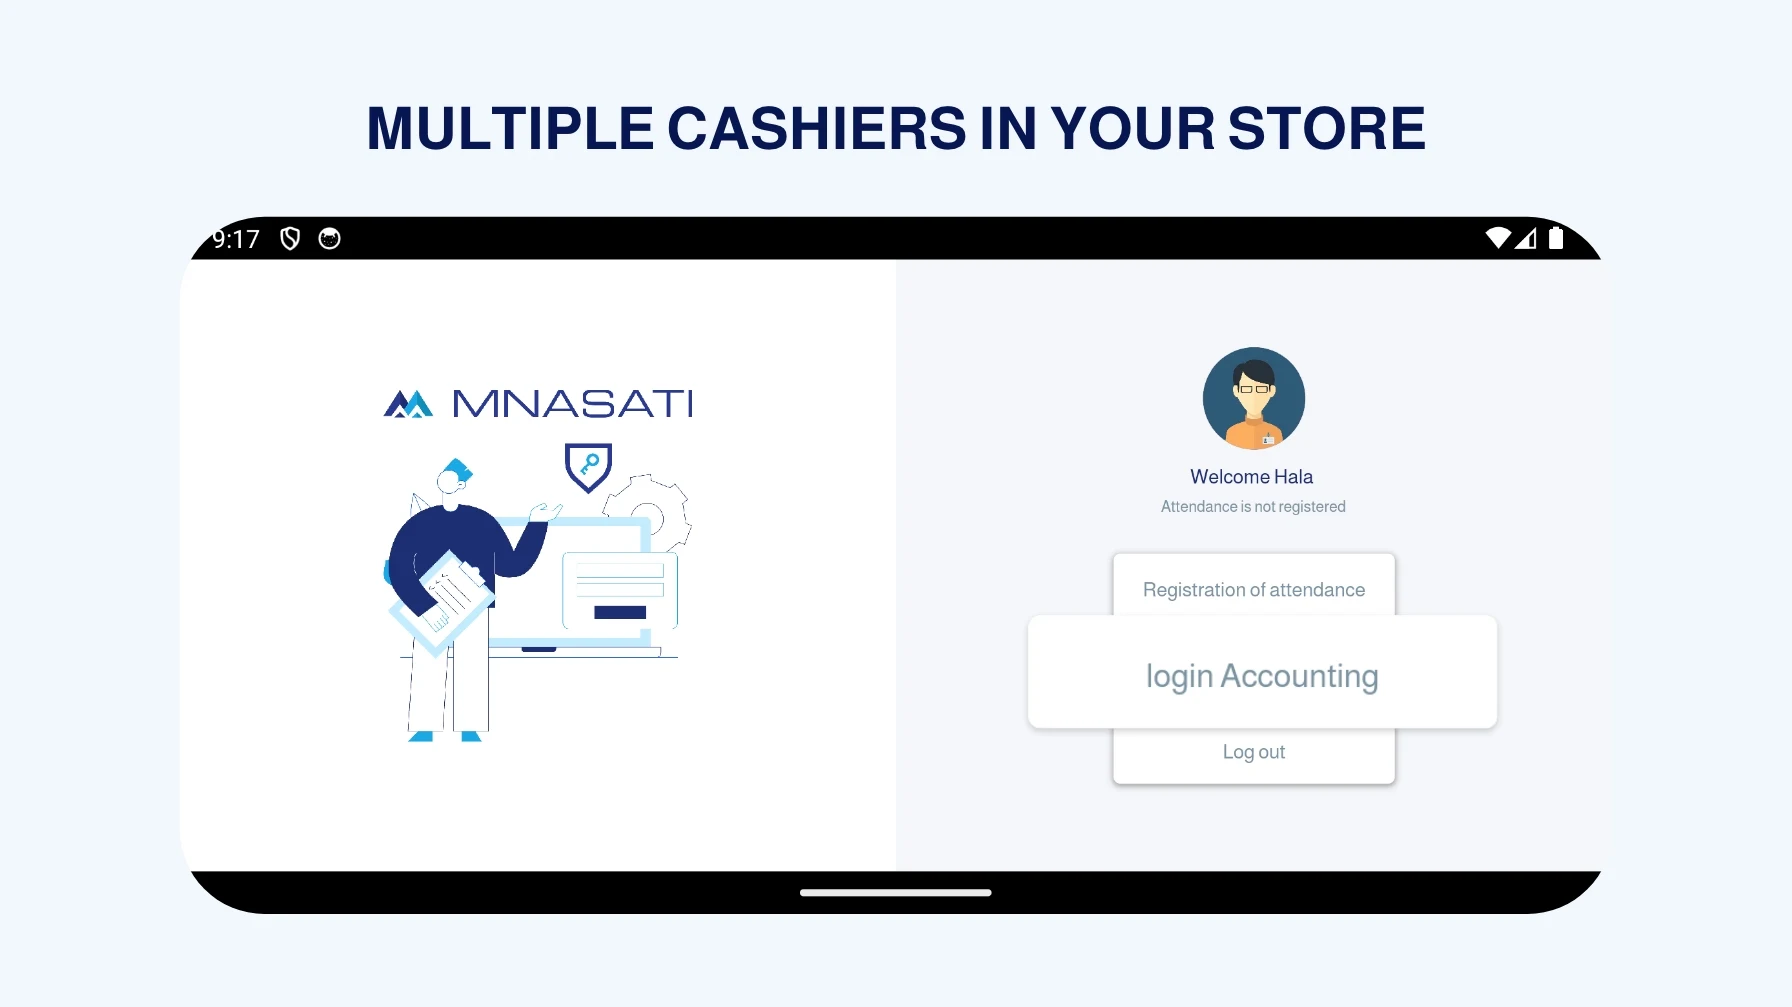
5. Welcome Screen & Sub-User Options
A welcome window will appear showing the sub-user’s name (Cashier) along with several options. The most important option is Login Accounting to access the POS system.
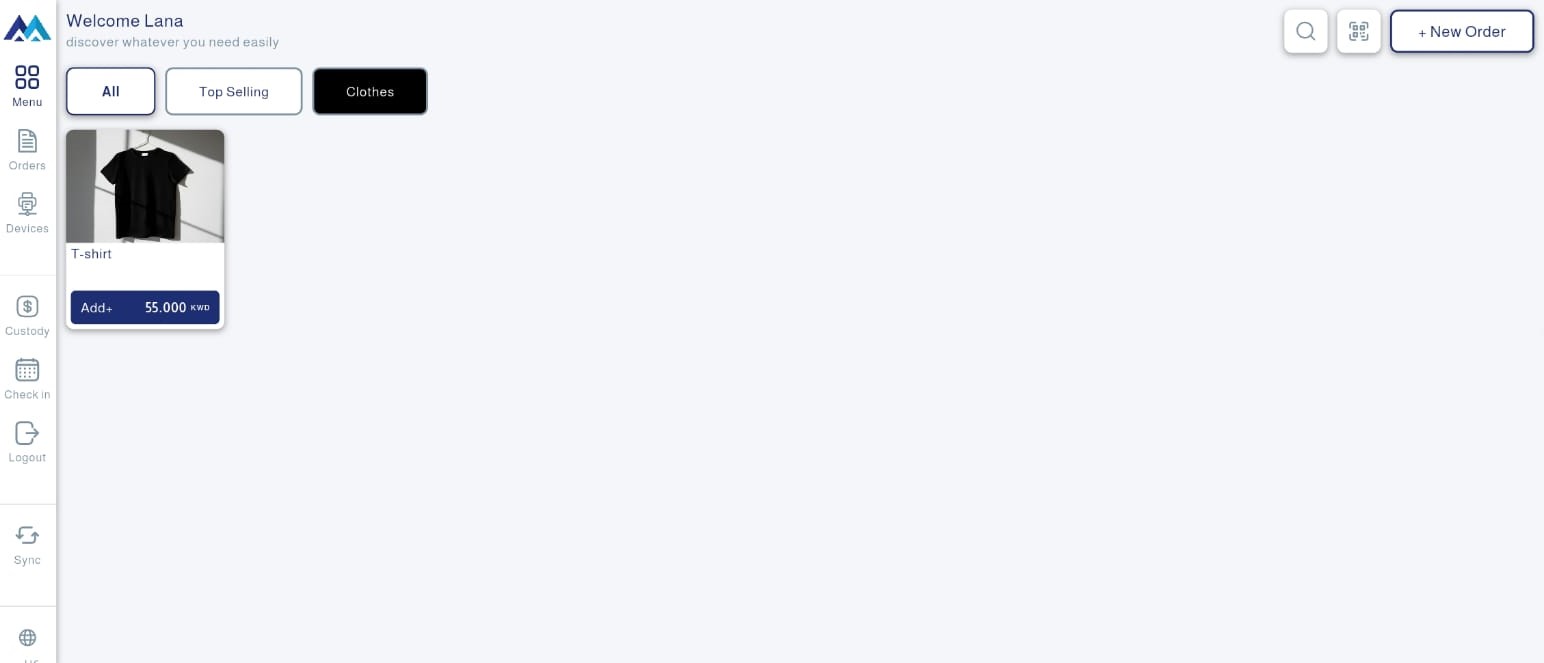
6. Main Dashboard
After logging in, the main page appears, featuring action buttons on the side of the screen and at the top for easy order management, which includes:
§ New Order: Located at the top of the screen and used to add a new order for customers, but this cannot be done without adding a custody (opening balance) at the beginning of the shift.
§ Menu: Displays the main product list.
§ Orders: View and manage orders recorded in the system and track their statuses.
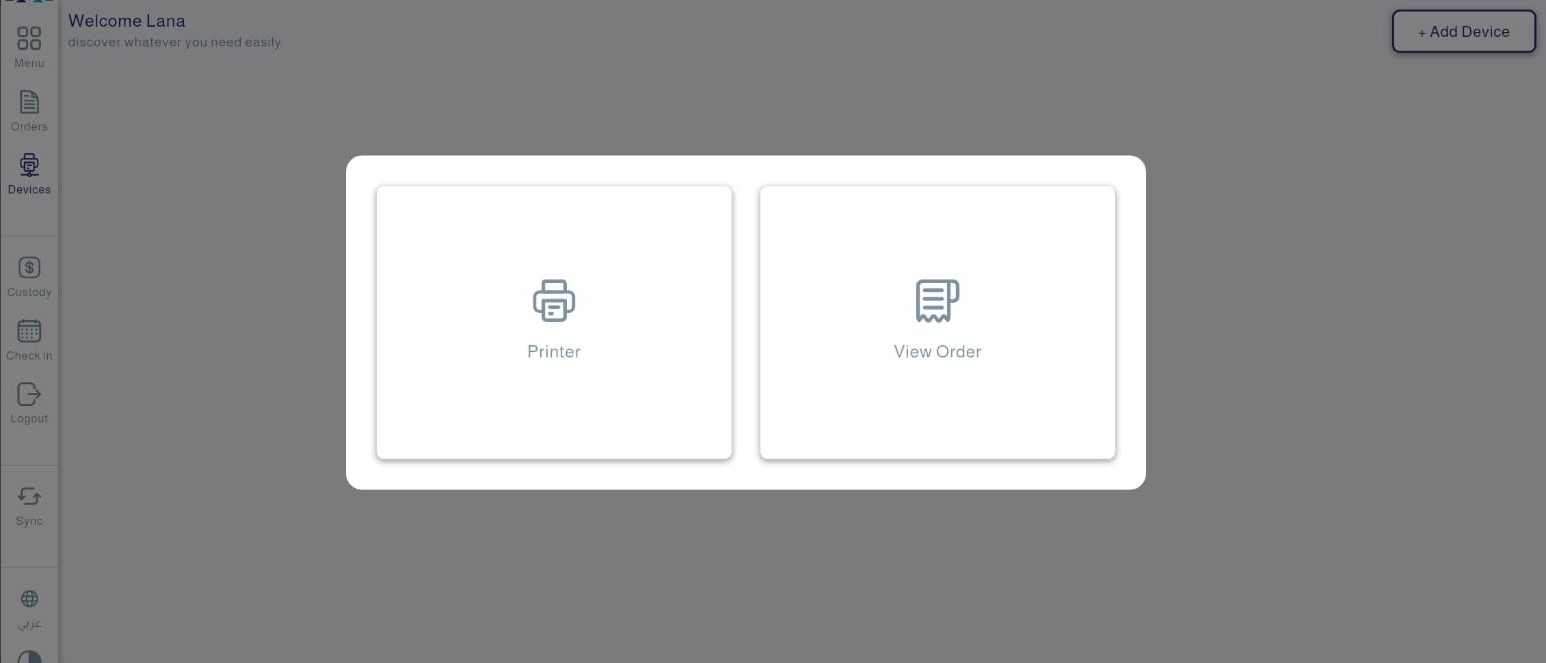
§ Devices: Manage devices connected to the same POS, which can be added by clicking the "Add" button at the top of the screen and includes (printer and order display screen).
§ Custody: Manage the cashier's cash float (opening and closing balance), including amounts added and withdrawn.
§ Checkout/In: Record the cashier’s login and logout for the shift.
§ Logout: Exit the current cashier account.
· Custody Logs Report
The custody log is the amount of money handed over to the cashier at the beginning of a work shift and is used to manage cash payments and daily transactions. The Mnasati system provides precise tracking of all custody-log movements from start to final settlement.
Managing Custody Logs Reports
Users can access comprehensive reports that include:
§ Cashier: Identifying the person responsible for the custody
§ Title: Classifying the transaction type, such as Paid In (Cash) for received cash amounts, and Paid Out for outgoing payments, which represent financial transactions where funds are disbursed from the cash drawer
§ Description: Additional details about the transaction
§ Amount: The financial value associated with the transaction
§ Date: Accurate timestamp of the transaction, allowing full historical review
§ Added Date: The time when the transaction was recorded in the system
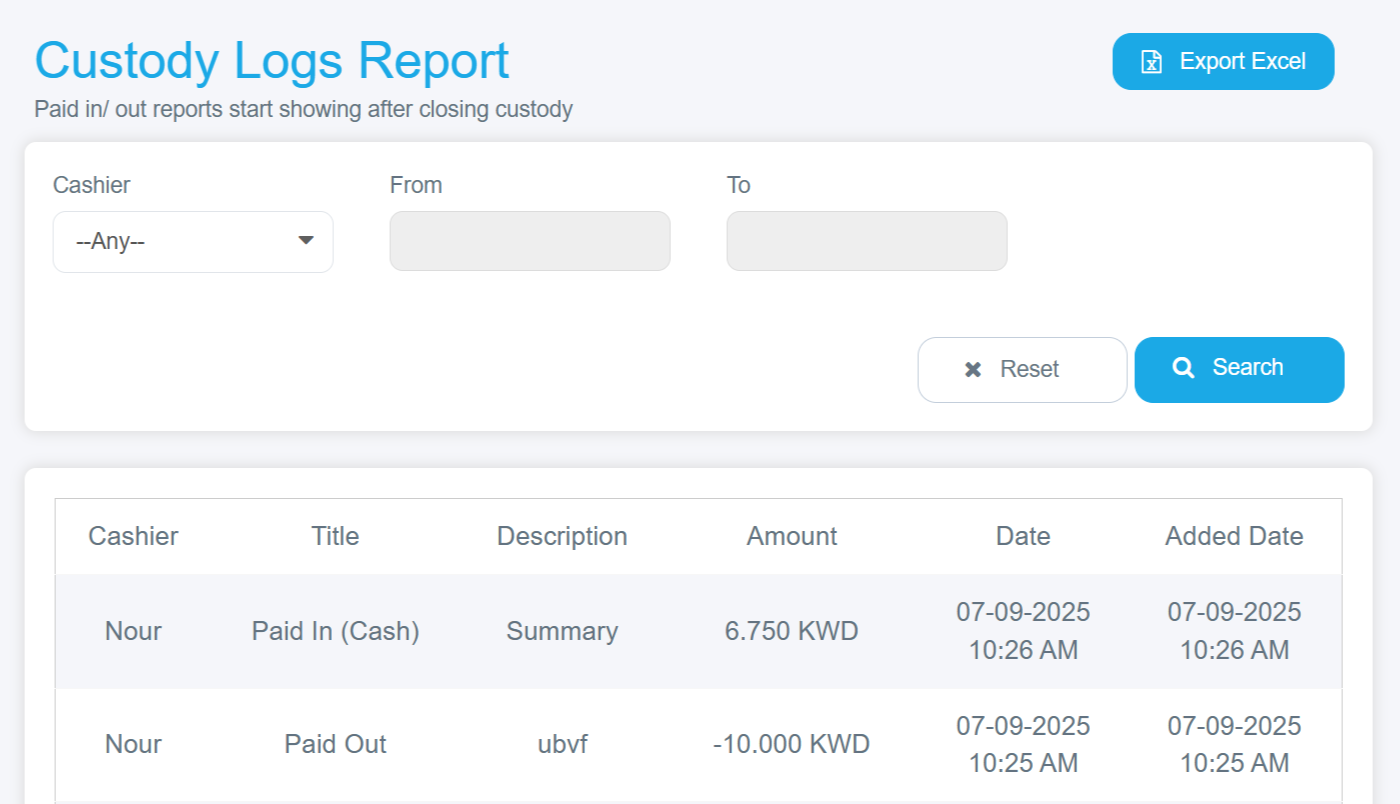
Export to Excel
enabling:
§ Preparing periodic financial reports
§ External accounting audits
§ Analyzing cash-flow patterns
§ Archiving financial records