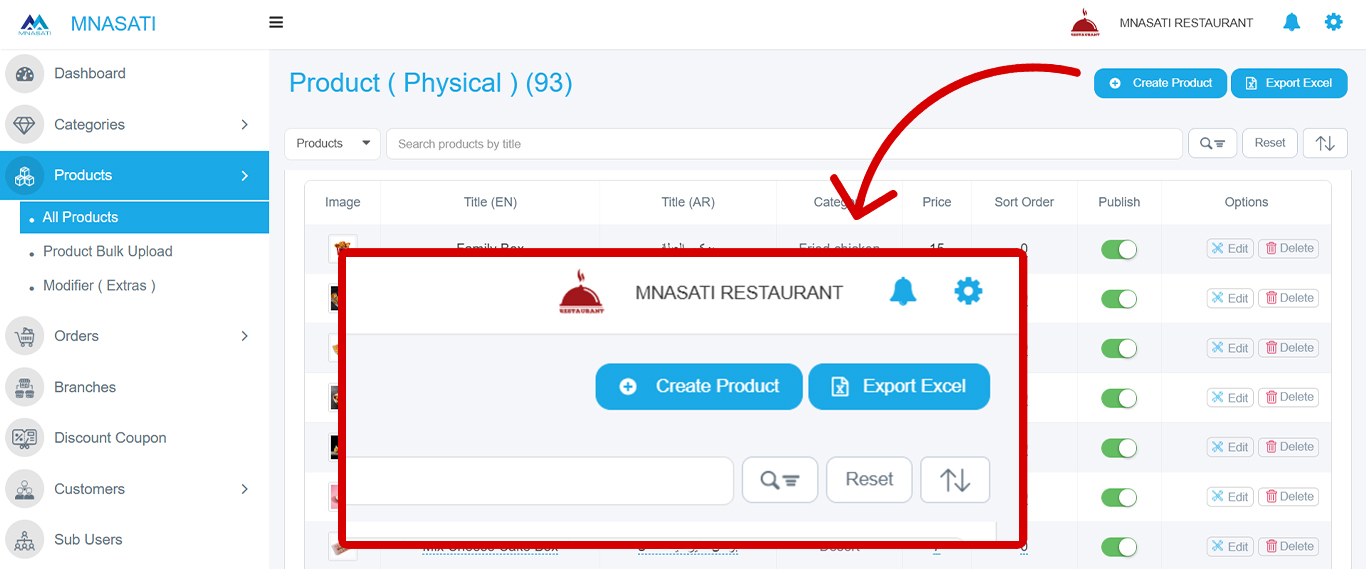
1. Access the Create Product Page
• From the left sidebar, click on "Products"
• Select "All Products"
• Click the blue "Create Product" button in the top-right corner
2. Fill in Product Details Tab
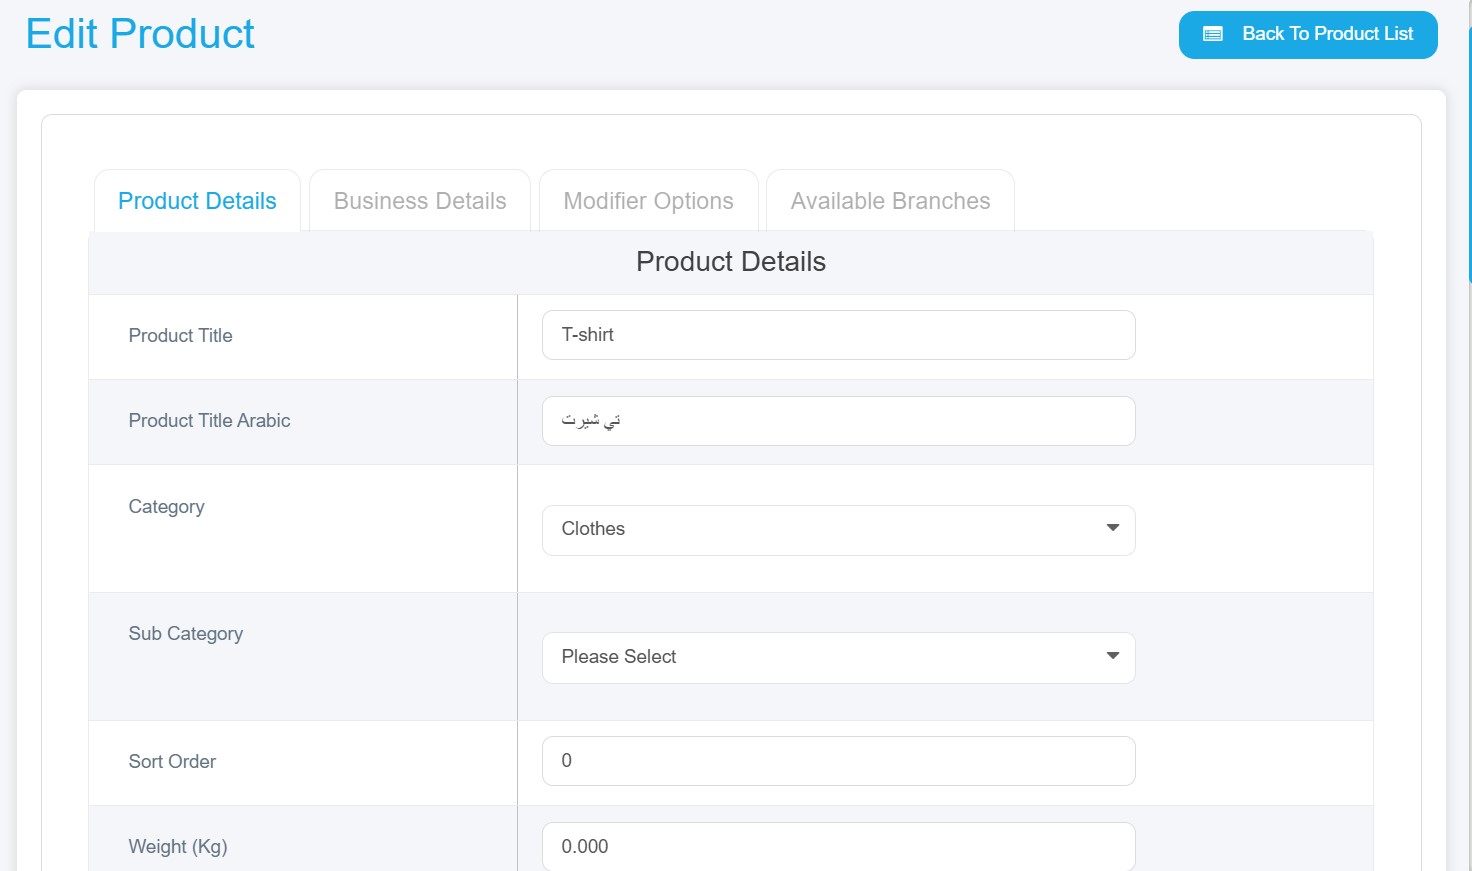
Required options :
• Product Title: Enter the product name in English
• Product Title Arabic: Enter the product name in Arabic
• Category: Select from dropdown (e.g., Clothes, accessories)
• Weight: Enter the weight of your product (If no weight value is available enter “0”)
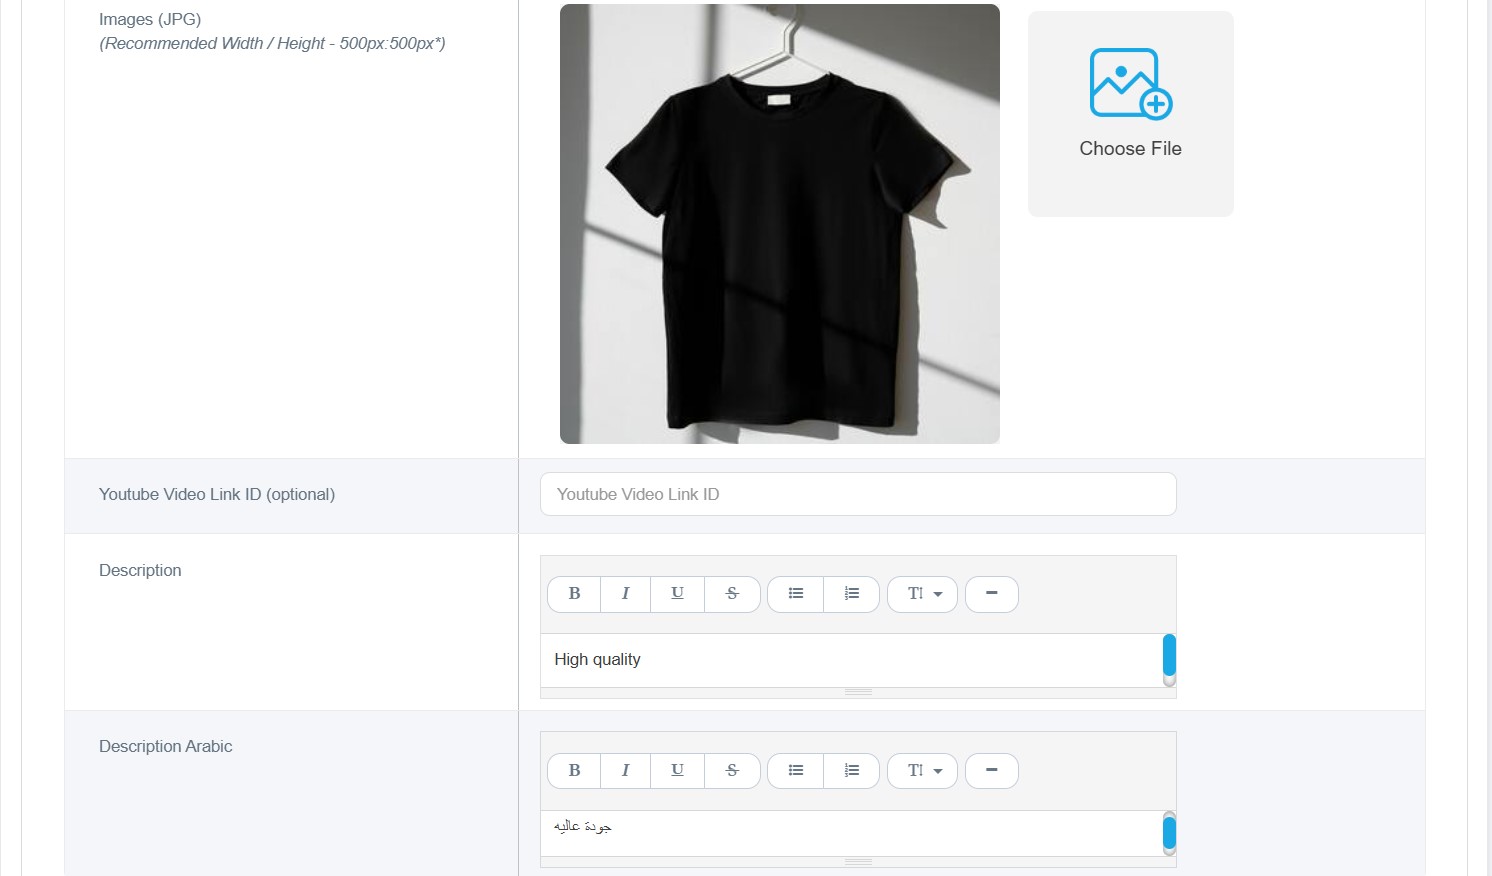
• Product Image: Click "Choose File" to upload product image (The image size is 500x500 pixels and the format is JPG/JPEG)
Note: (If no image is added ,you will not be capable to save your product ,if you don’t have any we recommend to choose the default image)
Optional options:
• Sub Category: Choose appropriate sub-category
• Sort Order: Enter display order number (noting the lower numbers will appear first)
• Preparation Time: Set preparation time if applicable
• Special Tag: Add tag for the product (new, limited, special product, etc…)
• Tags: Add relevant tags.
• Youtube video link: add the part of the link after “=” ,e.g: https://www.youtube.com/watch?v=mjovEakZusk
• Description: Write detailed product description.
• Description Arabic: Write description in Arabic.
3. Complete Business Details Tab
• Sale Price: Enter the selling price
• Cost Price: Enter the cost price
Note:(Both of prices are required options if you have no values enter”0”)
• Purchase Limit: Set maximum purchase quantity
• Barcode: Enter product barcode
• SKU: Enter Stock Keeping Unit code
• Discount Type: Select discount type from dropdown (it can be either percentage or amount)
• Discount: Enter discount value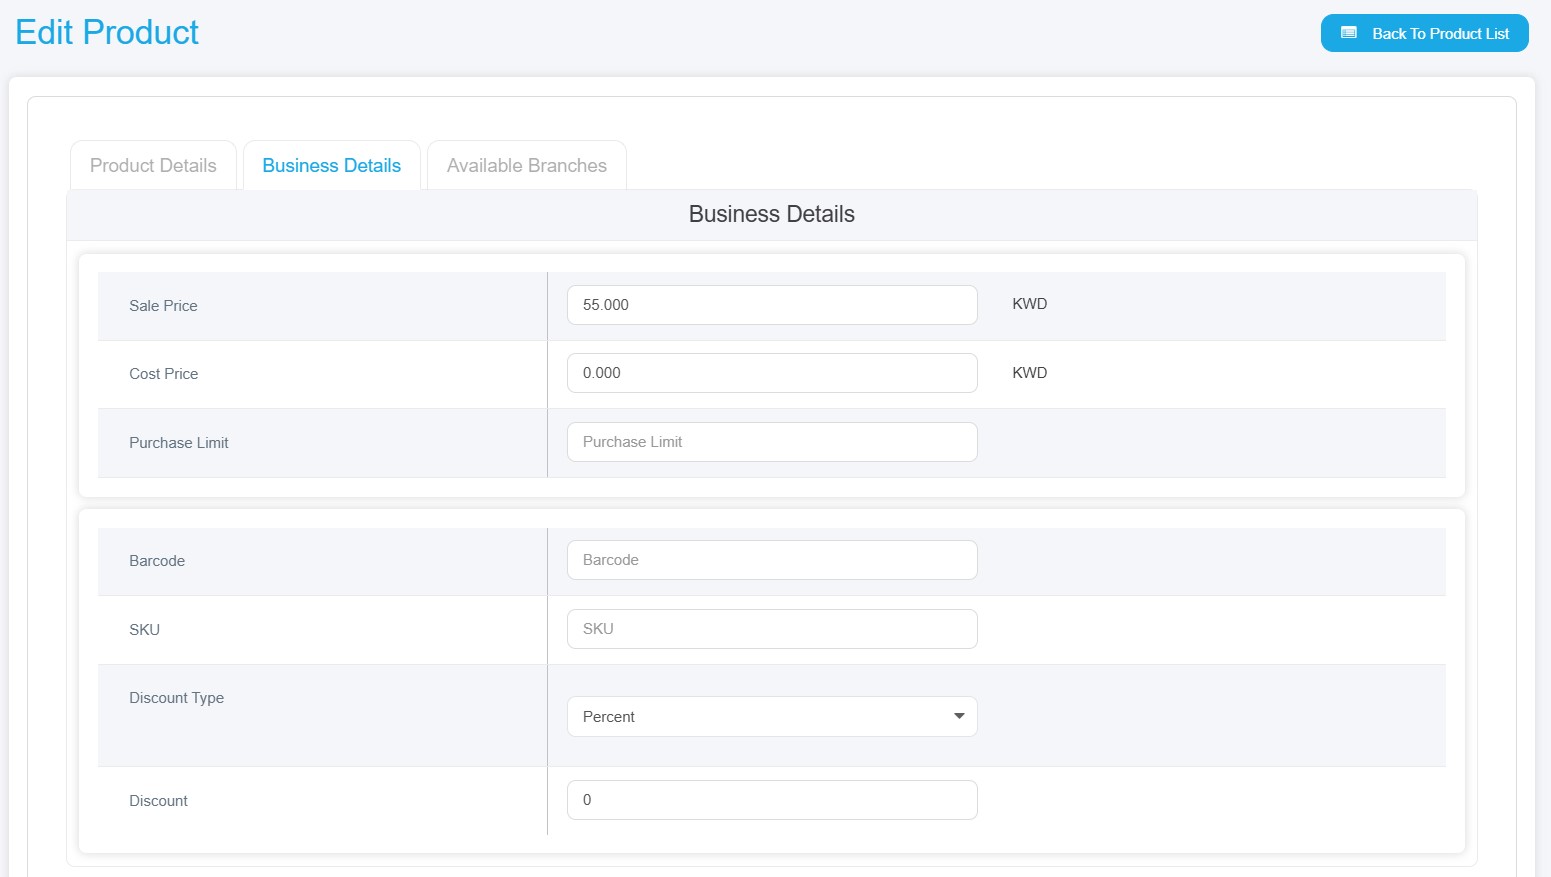
4. Set Modifier Options Tab
• This section allows you to add product modifiers
• Click "Add Modifier Group" if you need to add options like sizes, colors, or add-ons
• Modifier groups: Enter the modifier option name in both English and Arabic fields.
• Click the "Option Type" dropdown menu
• Choose from three available types:
• Single Select (Single Select) - Customers can choose only one option (like selecting a size: Small, Medium, or Large)
• Multi Select (Checkbox) - Customers can choose multiple options (like selecting multiple toppings), also you can choose allow more quantity option.
• Single Select (Button) - Similar to single select but displayed as buttons instead of a dropdown
• Use the "Required" dropdown to specify if customers must select this modifier
• If no modifiers needed, you can skip this tab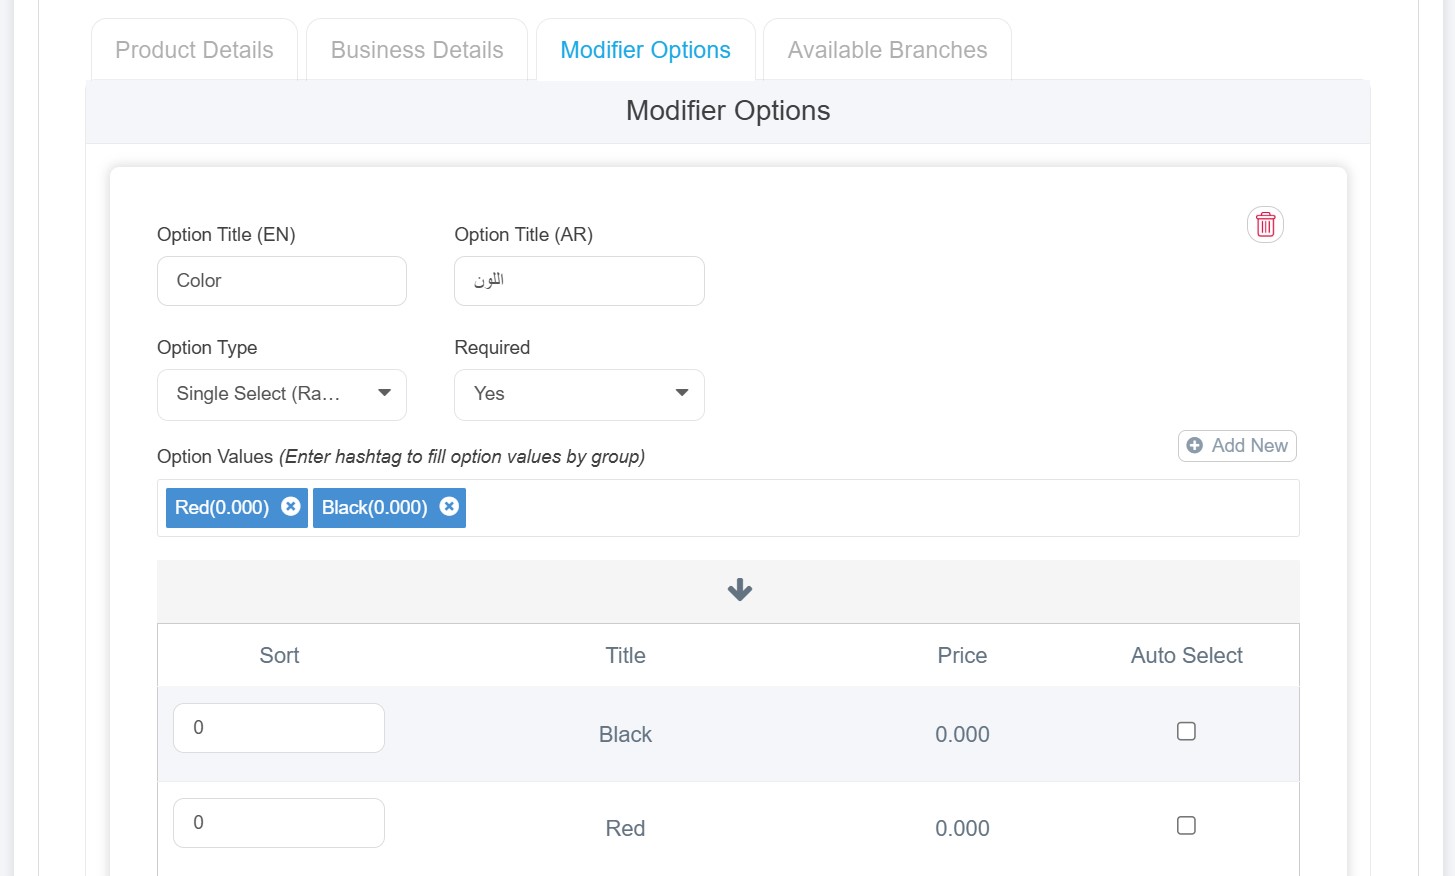
5. Configure Available Branches Tab
• Available in All Branches: Toggle ON if product is available in all branches
• Or select specific branches where the product will be available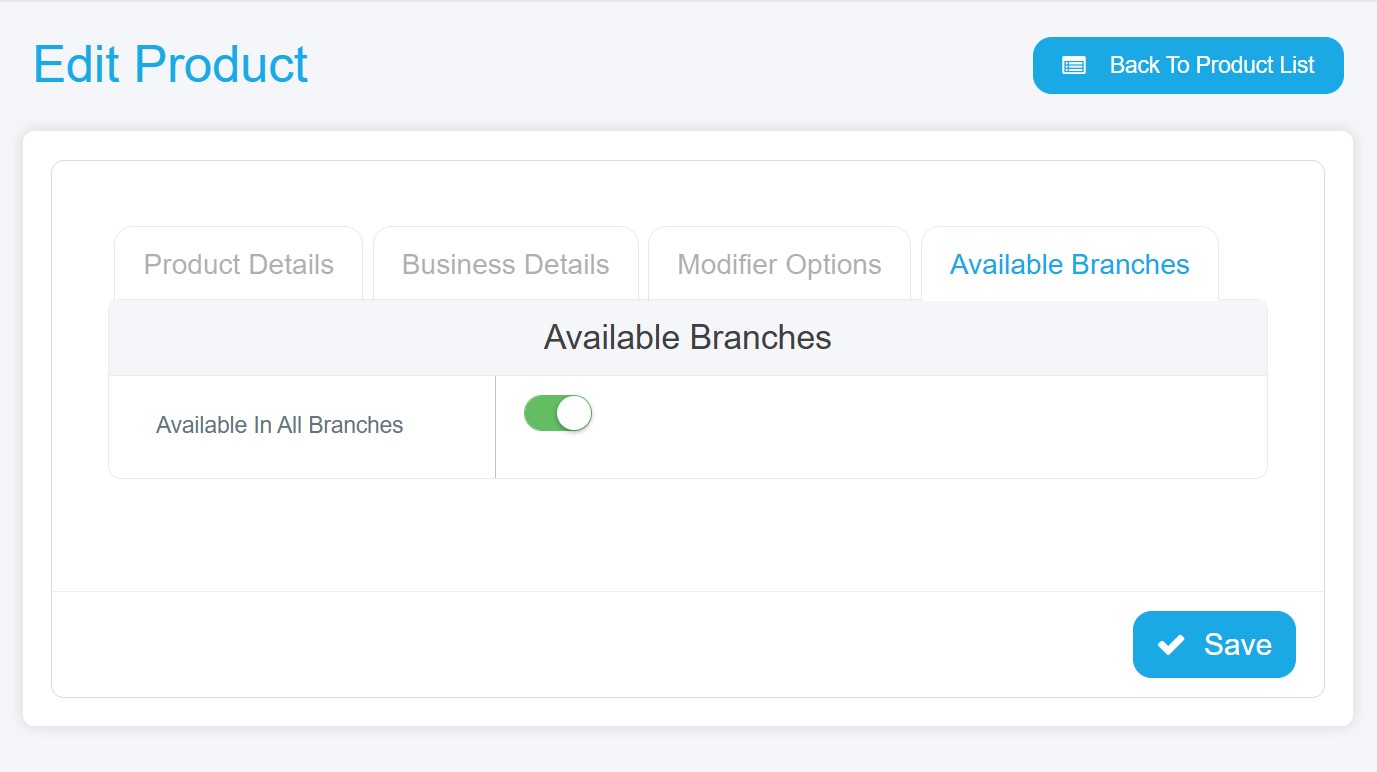
6. Save the Product
• Click the blue "Save" button in the bottom-right corner
• The product will be added to your product list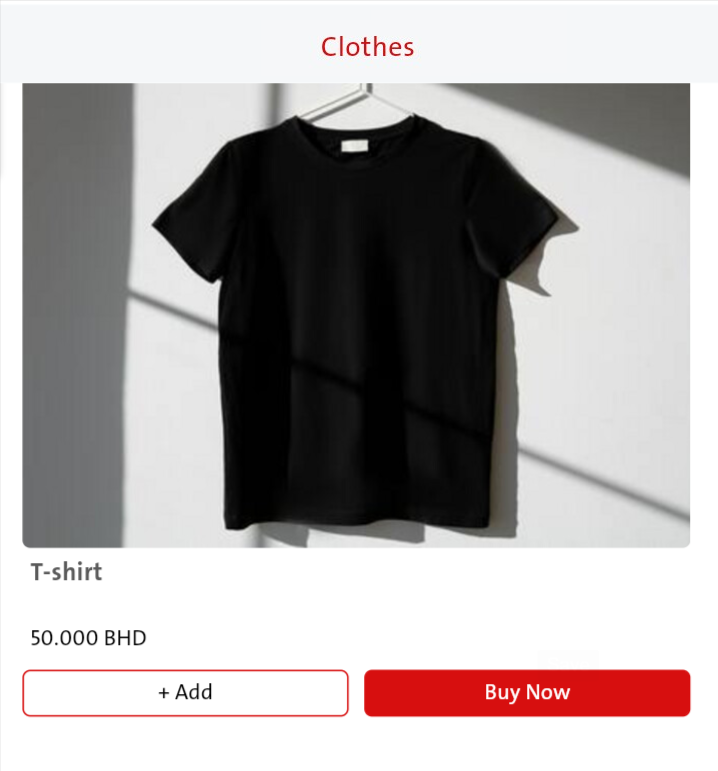
7. After Saving - Additional Actions Available
• Edit: Modify product details
• Stock: Manage inventory levels
• Delete: Remove the product
• Destroy: To decrease the quantity of the product
• Publish Toggle: Turn product visibility on/off (green = published, red = unpublished)
Important Notes
• Make sure to fill in required fields .
• Upload a clear product image for better presentation.
• Set the correct price and current quantity.
• Toggle the publish status to make the product visible to customers.
• Make sure you choose the correct image size and format.