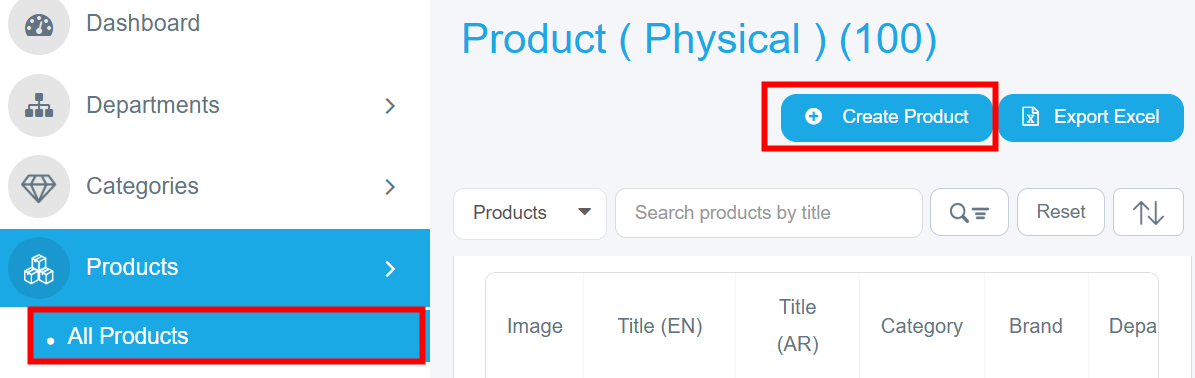
1. Accessing the "Create Product" Page
· From the left sidebar, click on "Products".
· Select "All Products" from the menu.
· Click the blue "Create Product" button located at the top right.
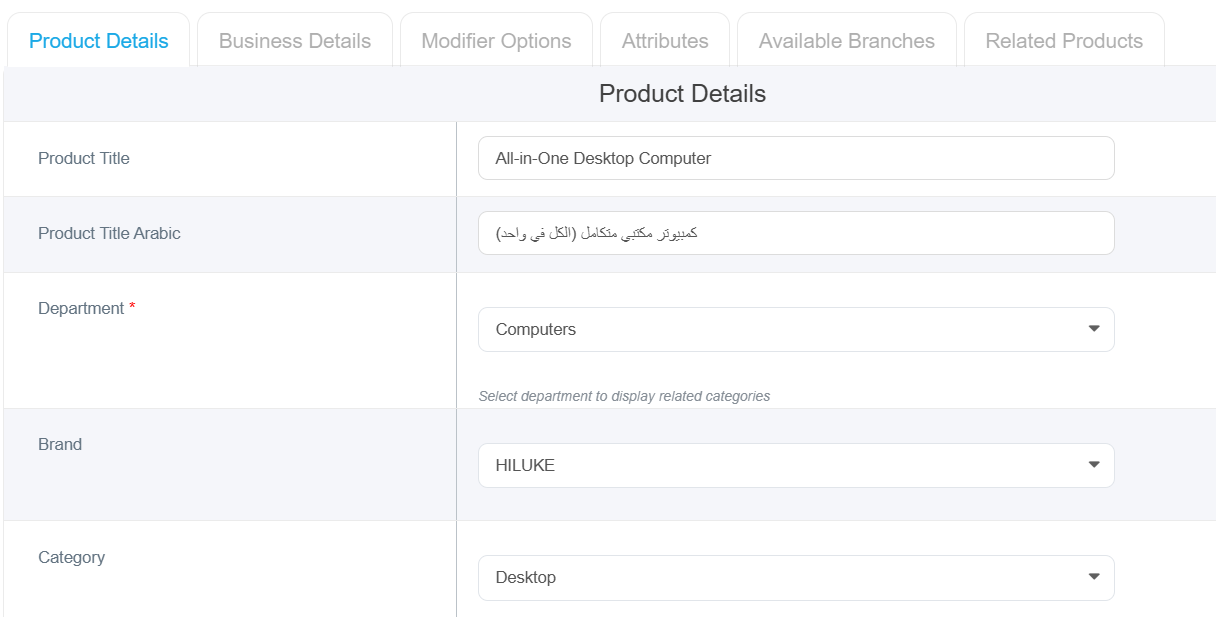
2. Filling in the "Product Details" Tab
Required Options:
- Product Name (English): Enter the product name in English.
- Product Name (Arabic): Enter the product name in Arabic.
- Department: Select the department, the product belongs to from the list like:Computers, Home Appliance.
- Brand: Select the brand for the product after choosing the category.
- Category: Choose the relevant category from the list like: (Accessories, Clothing,Smartphone)
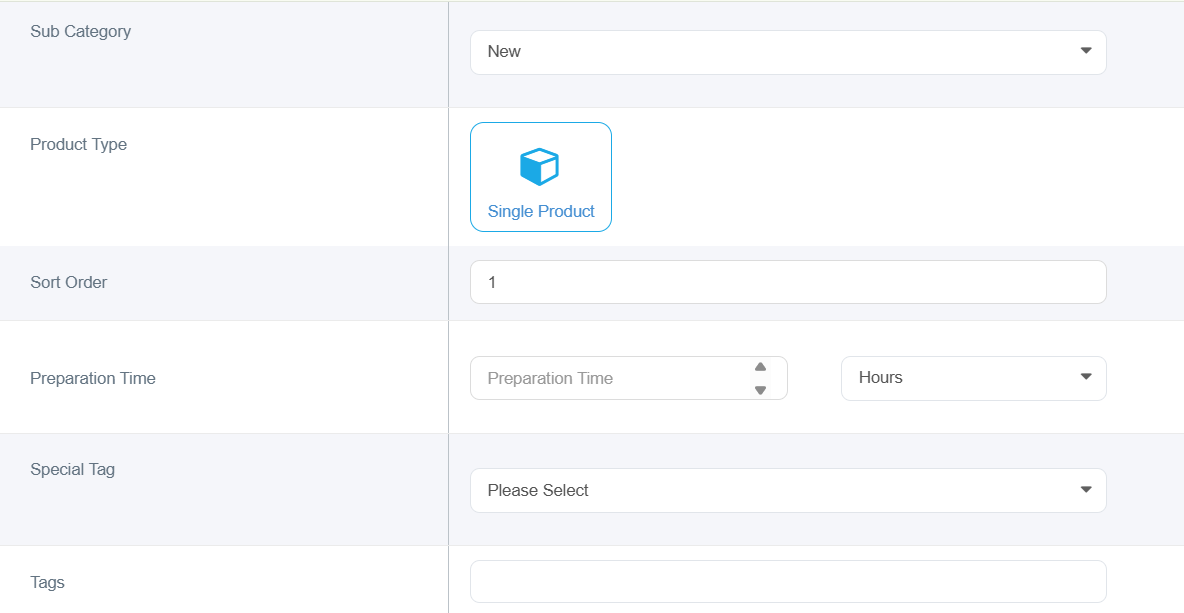
- Product Type: Single Product.
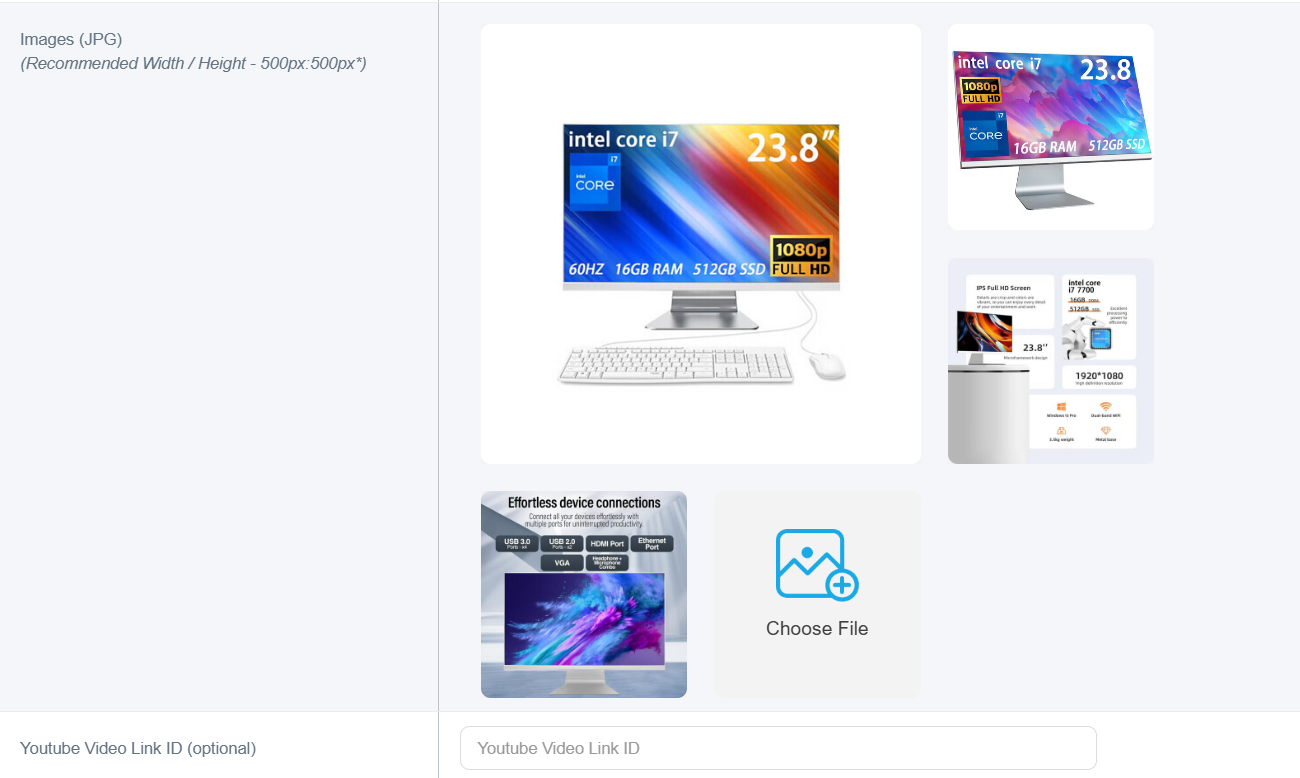
- Product Image: Click "Choose File" to upload the product image. (Dimensions: 500x500 pixels, Format: JPG/JPEG).
- Note: You cannot save the product without uploading an image. If no image is available, we recommend using the default placeholder. You can add up to 20 images.
Optional Options:
- Sub-categories: Select the appropriate sub-categories.
- Display Order: Enter the sort order number (lower numbers will appear first).
- Preparation Time: Enter the preparation time, if applicable.
- Special Tag: Add a tag for the product (e.g., New, Limited Edition, Featured Product).
- Keywords: Add relevant keywords for search optimization.
- YouTube Video ID: Add the part of the URL after the "=" sign. For example, if the link is https://www.youtube.com/watch?v=mjovEakZusk, add only mjovEakZusk.
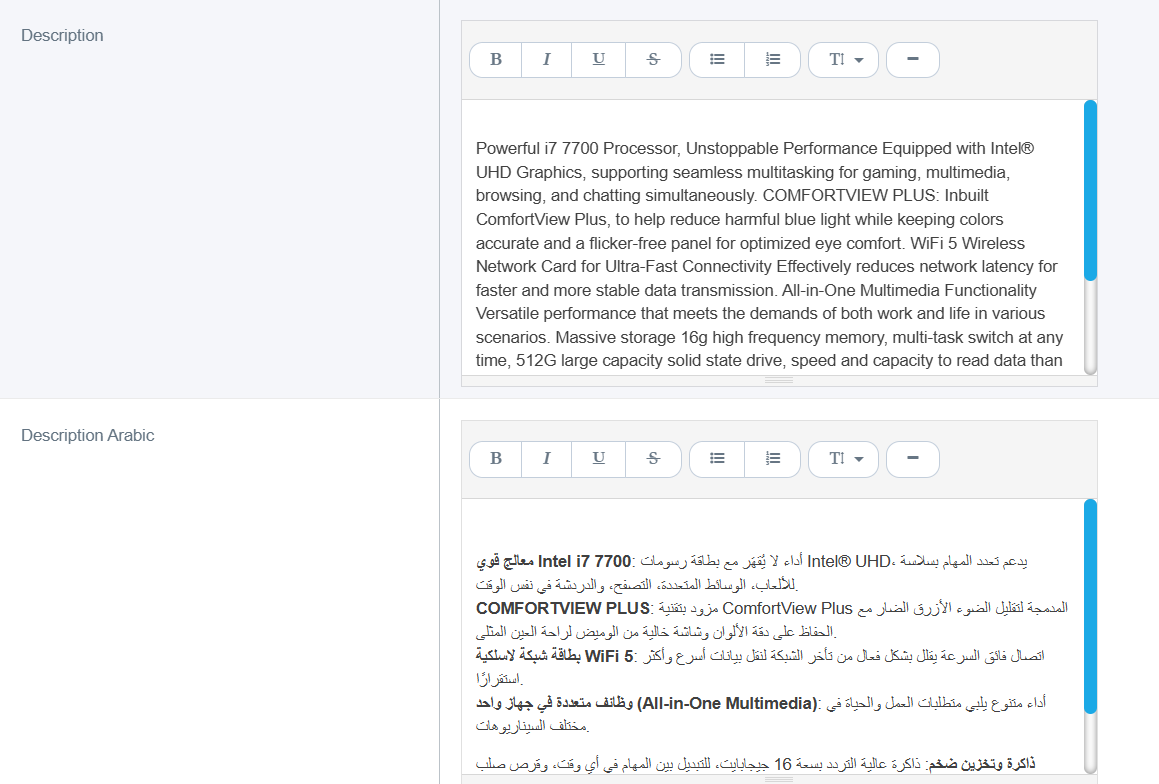
- Description (English): Write a detailed description of the product in English.
- Description (Arabic): Write the description in Arabic.
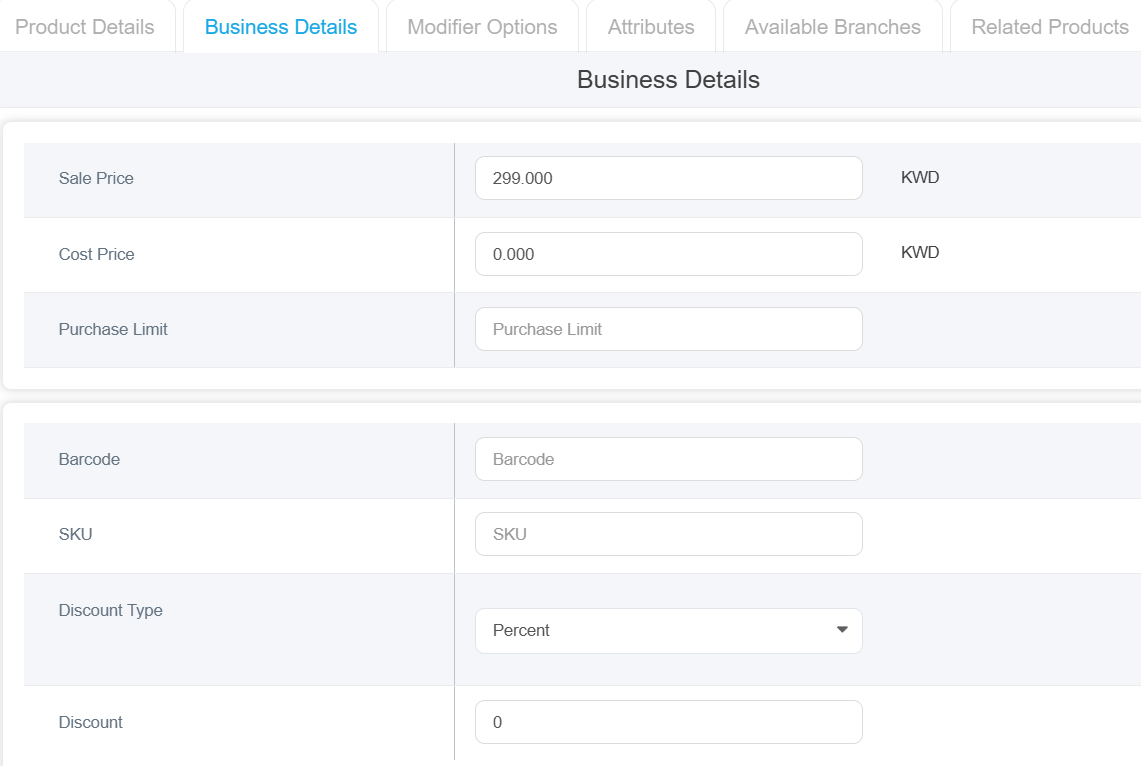
3. Complete Business Details Tab
• Sale Price: Enter the selling price
• Cost Price: Enter the cost price
Note:(Both of prices are required options if you have no values enter”0”)
• Purchase Limit: Set maximum purchase quantity
• Barcode: Enter product barcode
• SKU: Enter Stock Keeping Unit code
• Discount Type: Select discount type from dropdown (it can be either percentage or amount)
• Discount: Enter discount value
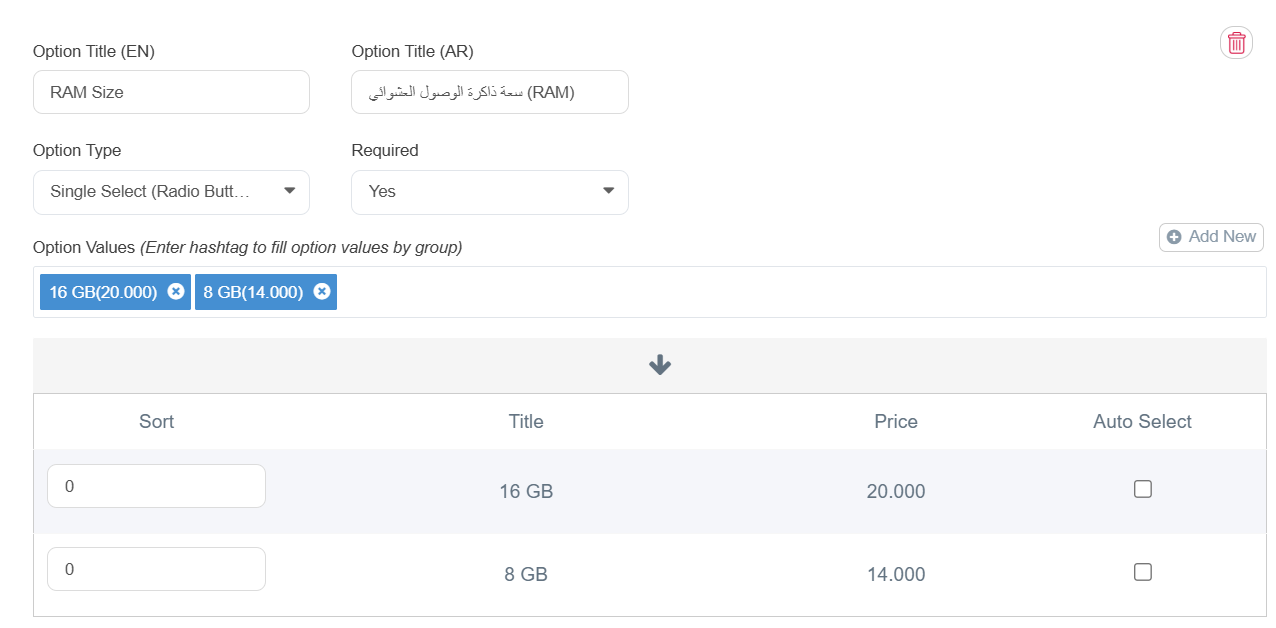
4. Filling in the "Modifier Options" Tab
This section is dedicated to adding extra add-ons to your product.
· Click on "Select Option Group" if you want to add choices such as sizes, RAM capacity, or extras.
· Option Title: Enter the name of the option in both English and Arabic.
· Click on the "Option Type" menu and choose from:
o Single Choice (Radio Button): The customer can select only one option (e.g., 16GB, Small, Medium, Large).
o Multiple Choice (Checkbox): The customer can select more than one option (e.g., Pizza toppings), and you can allow quantity increments.
o Single Choice (Button Type): Similar to single choice, but the options appear as clickable buttons.
• From the "Required" menu, specify whether the customer must select this option or not.
• If no options are needed, you can skip this tab.
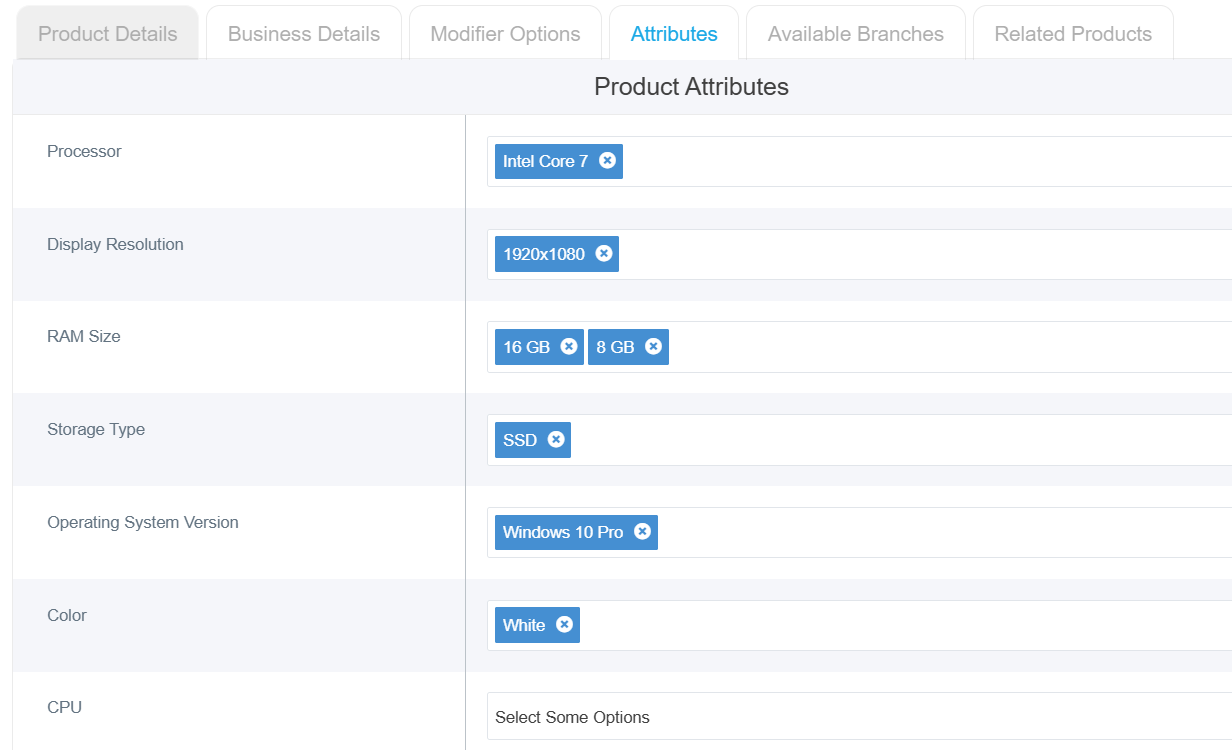
5. Attributes Tab
Once the attributes have been set up in the Attributes Section, the titles will appear as shown in the image below. You can then select the specific attributes relevant to this product:
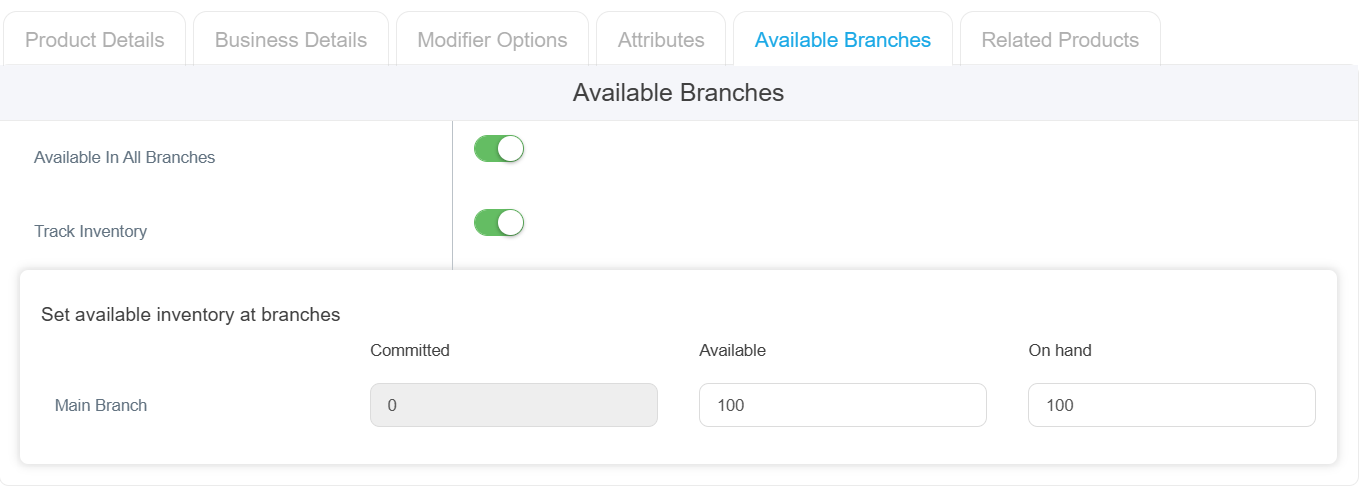
6. Managing the "Available Branches" Tab
• Available in All Branches: Toggle this switch on if the product is available at all locations.
• Select Available Branches: Alternatively, manually select the specific branches where the product will be available.
• Set Branch Inventory: Define the available stock quantity for each specific branch.
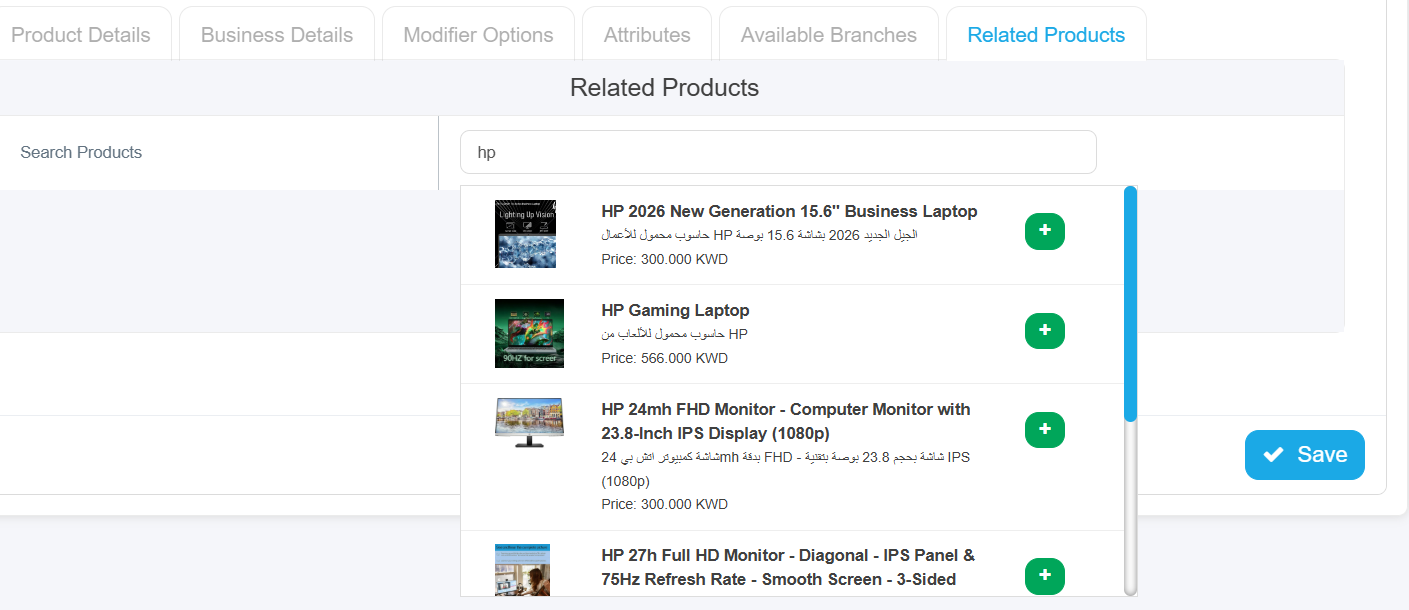
7. Related Products Tab
This tab aims to enhance the user experience by automatically displaying related products when a customer selects a specific item. This helps them discover additional options of interest right on the same page.
Note: To ensure related products appear correctly, you must first add the main products to the system. Once added, you can then select and link the relevant related products to each item.
8. Saving the Product
• Click the blue "Save" button at the bottom right.
• The product will be added to the Product List.
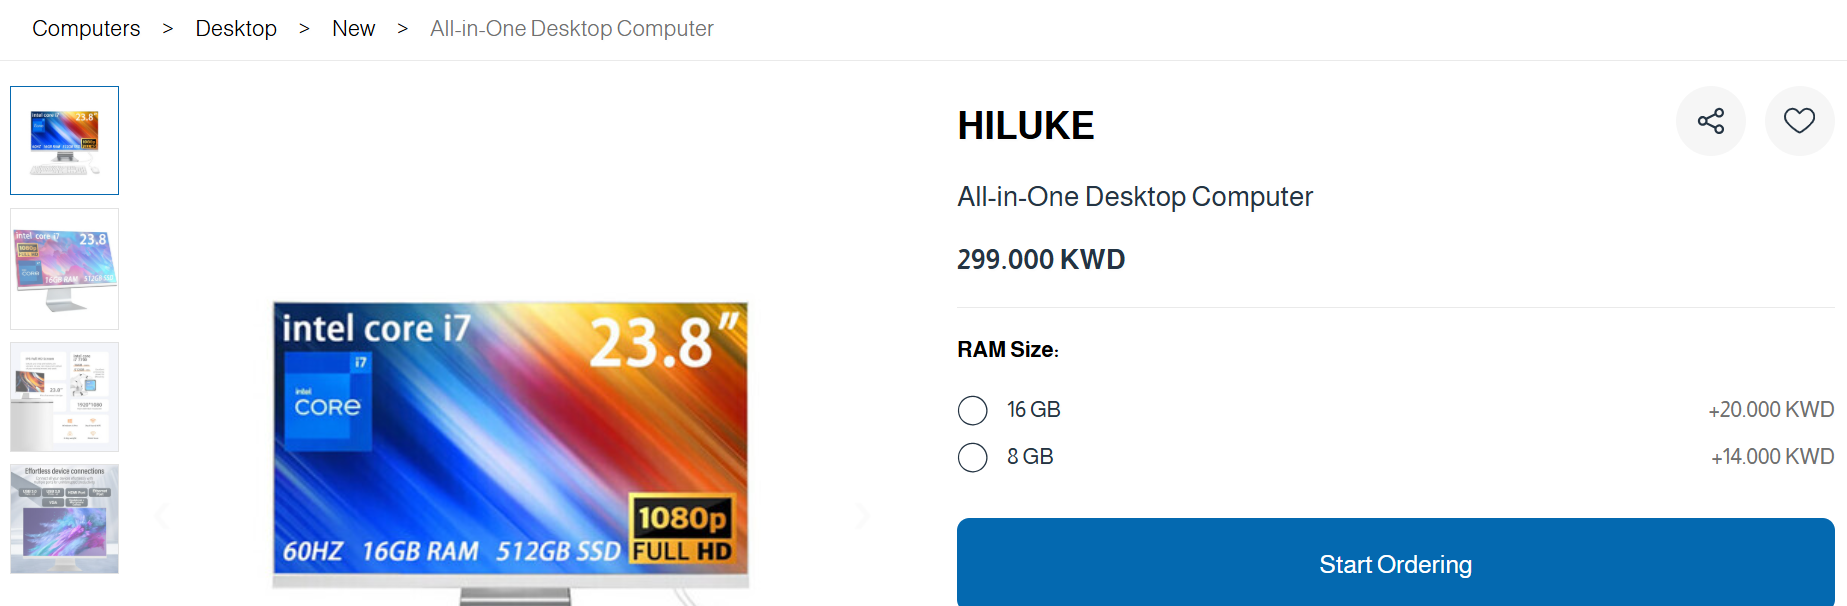
The product details and modifier options will appear to the customer as shown in the image below:
9. Post-Saving – Additional Actions Available
• Edit: To modify product details.
• Delete: To remove the product from the system.
• Show/Hide (Visibility): To control the product's visibility to customers (Green = Visible, Red = Hidden).
Important Notes:
• Ensure all required fields are filled out.
• Upload a clear product image for the best display.
• Enter the correct price and current stock quantity.
• Activate the visibility status to make the product visible to customers.
• Ensure you use the correct image size and format.